Ryan Bone’s 3D Art Portfolio
Bonus Content Section
3D Art Showcases
“3 Emotes”
Made during Ryan’s Fall 2022 (9th) semester at GMU. Created for the “Emote” assignment in Professor Grimsby’s GAME 431 Advanced Game Animation I course. Not all art is created by Ryan Bone, see the description below the art for an explanation of what work was made by Ryan or provided by Professor Grimsby.
“Original Emote Animation References” Entirely by Ryan Bone
For the final project of the Advanced Game Animation I course, Ryan had to animate three emotes. Professor Grimsby provided him with the rigged 3D model, and the rest was up to Ryan. He decided to show off a sassy, exaggerated character, as he knew that would be the most fun to animate. Ryan filmed his own references for each of the actions, and this helped him to animate the character with realistic weight shifting throughout the body.
“Stoat Rig and Animations”
Made during Ryan’s Fall 2022 (9th) semester at GMU. Created for the “Quadruped” assignment in Professor Grimsby’s GAME 431 Advanced Game Animation I course. Not all art is created by Ryan Bone, see the description below the art for an explanation of what work was made by Ryan or provided by Professor Grimsby.
“Studying The Stoat’s Movements” The video was compiled and edited by Ryan Bone. The source video of the Stoat comes from Nat Geo WILD's YouTube video: Stoat Hypnotizes Rabbit | World's Deadliest - https://youtu.be/ODEUK5sB5vE
For the quadruped assignment, Professor Grimsby tasked Ryan with rigging and animating a quadrupedal animal of his choice. Ryan chose the Stoat, since he believed it would be a fun challenge to animate an animal that was infamous for its stretchy, gelatin-like movement. Using many nature-recorded references, Ryan attempted to make his animations as realistic to the actual floppy actions of a Stoat as possible, including how a Stoat attacks its prey by distracting them with front flips!
To do this, Ryan edited together moments from different YouTube videos of the Stoat’s movements and overlaid a grid to focus in on the Stoat’s core movements. Since the Stoat, as with most living creatures, have their hips be their main source/core of movement, Ryan wanted to make sure that he had a solid understanding of how it moves into different positions over time. Doing this and going deep into other methods of research is what resulted in the animation looking so accurate to a real Stoat’s actions.
“Construction Hammer User Animations”
Made during Ryan’s Fall 2022 (9th) semester at GMU. Created for the “Final Project” assignment in Professor Grimsby’s GAME 431 Advanced Game Animation I course. Not all art is created by Ryan Bone, see the description below the art for an explanation of what work was made by Ryan or provided by Professor Grimsby.
“Construction Hammer User Animations in Unity” 3D Model, Rig, and Codes for the Unity Project provided by Professor Grimsby at George Mason University. Only the animations themselves (and the hammer weapon model) were created solely by Ryan Bone.
For the final project of the Advanced Game Animation I course, Ryan had to animate a character using a weapon held in their hand. Professor Grimsby provided him with the rigged 3D model, and code to put it into Unity, but the rest was up to Ryan. He decided to use a small construction hammer as the weapon, since he believed that it would lend itself to creative uses while animating. Ryan worked hard to make sure the character, though lacking in any visual detail, had a clear and consistent personality that shined through each of the animations. The end result shows a bubbly and energetic character, with cartoonish exaggeration when they put their all into any action.
“3D Art Showcase Level”
Made during Ryan’s Fall 2020 (5th) semester at GMU. Created for the “Final Project” assignment in Professor Grimsby’s GAME 398 Advanced Game Design Animation course. All art is created by Ryan Bone, programming for the level provided by Professor Grimsby.
“Art Showcase Level” [All content made by Ryan Bone except for the programming by Professor Grimsby]
Background
For the final project of Ryan’s Advanced Game Design Animation course, he was tasked with making an original character that would explore either an interior scene or an exterior scene, from scratch. He decided to go all out for this project, making both an interior and exterior area and going above and beyond the requirements, working into the following summer to make every part of the level as polished as possible. Ryan designed the character and level to fit with his typical art style, as he always wanted to see what his art style would look like in 3D. Every visible aspect of this level was created by Ryan, using Unity, 3ds Max, Adobe Photoshop, and an XP-Pen tablet.
The Building Exterior and Interior
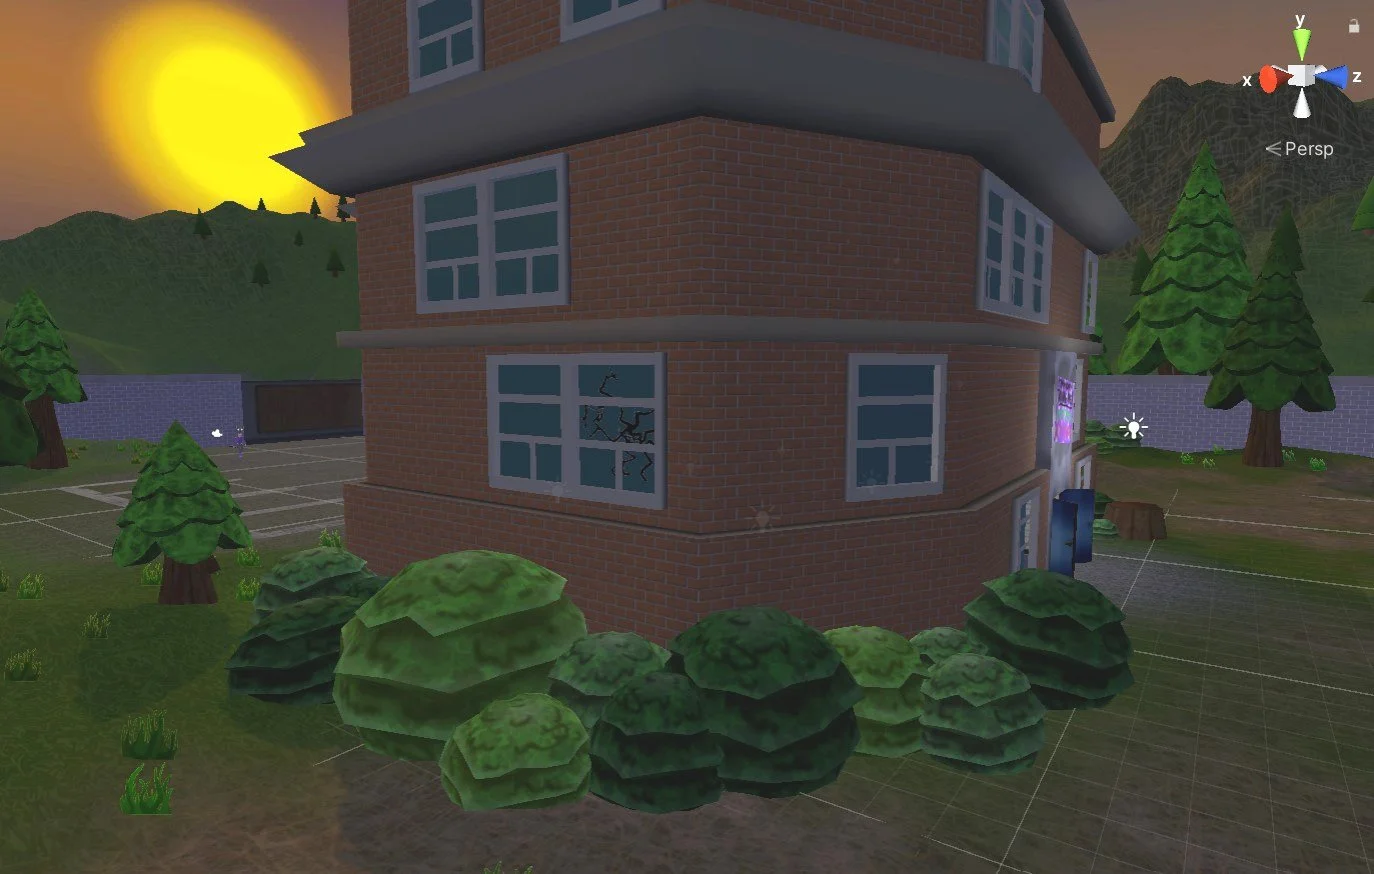
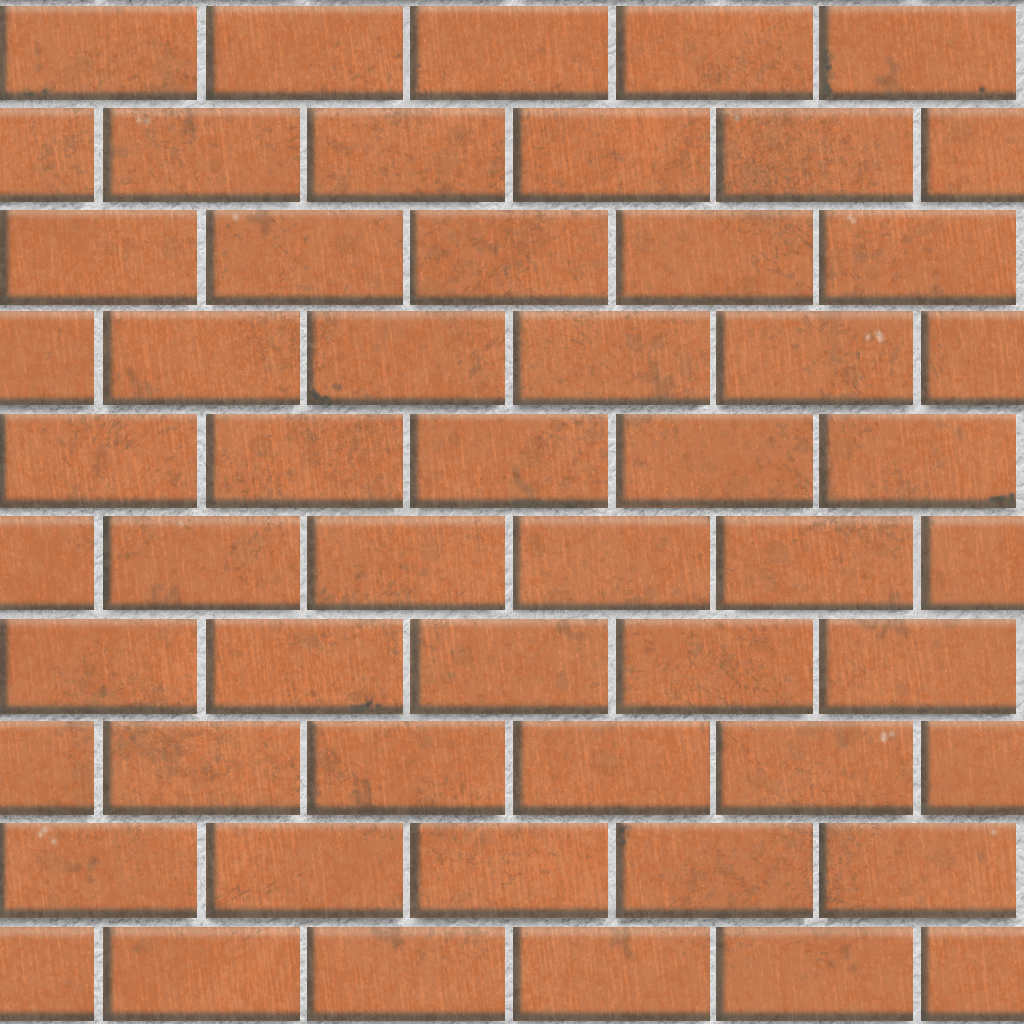
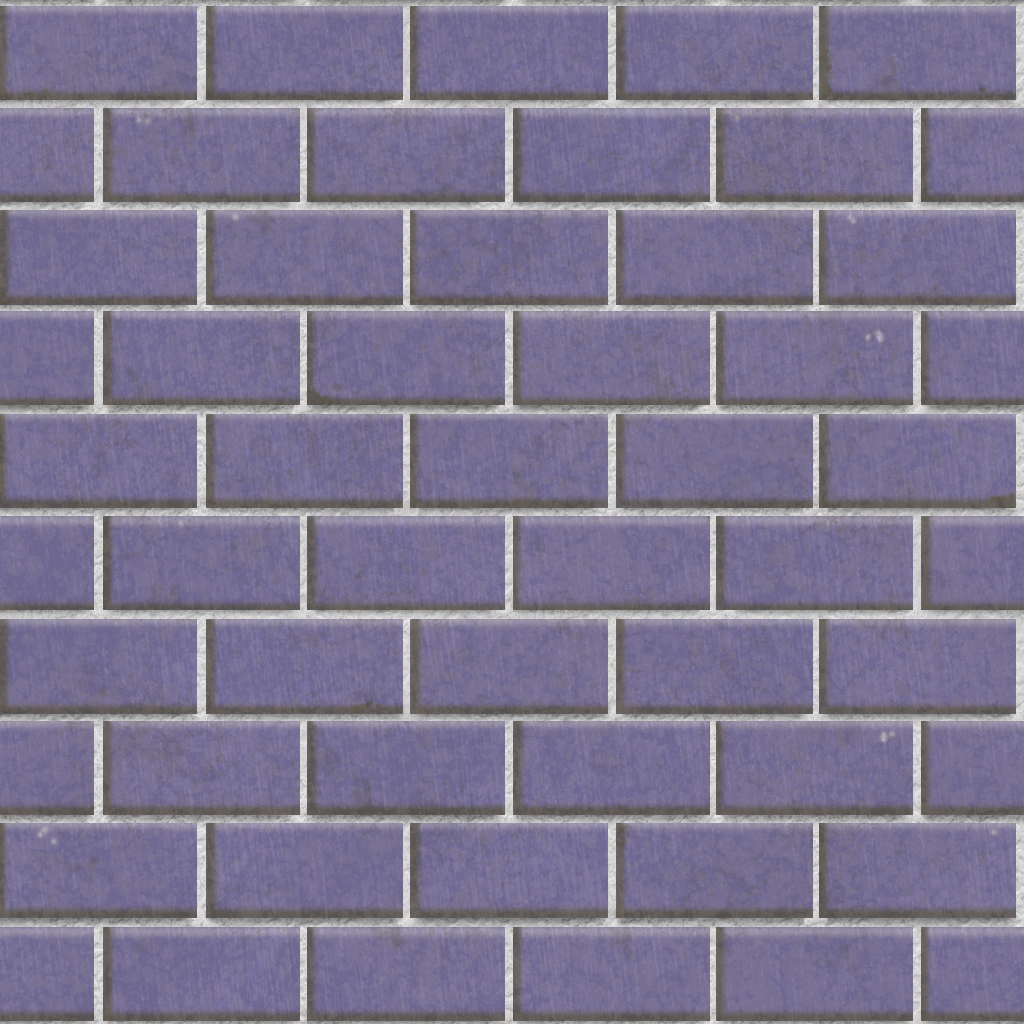
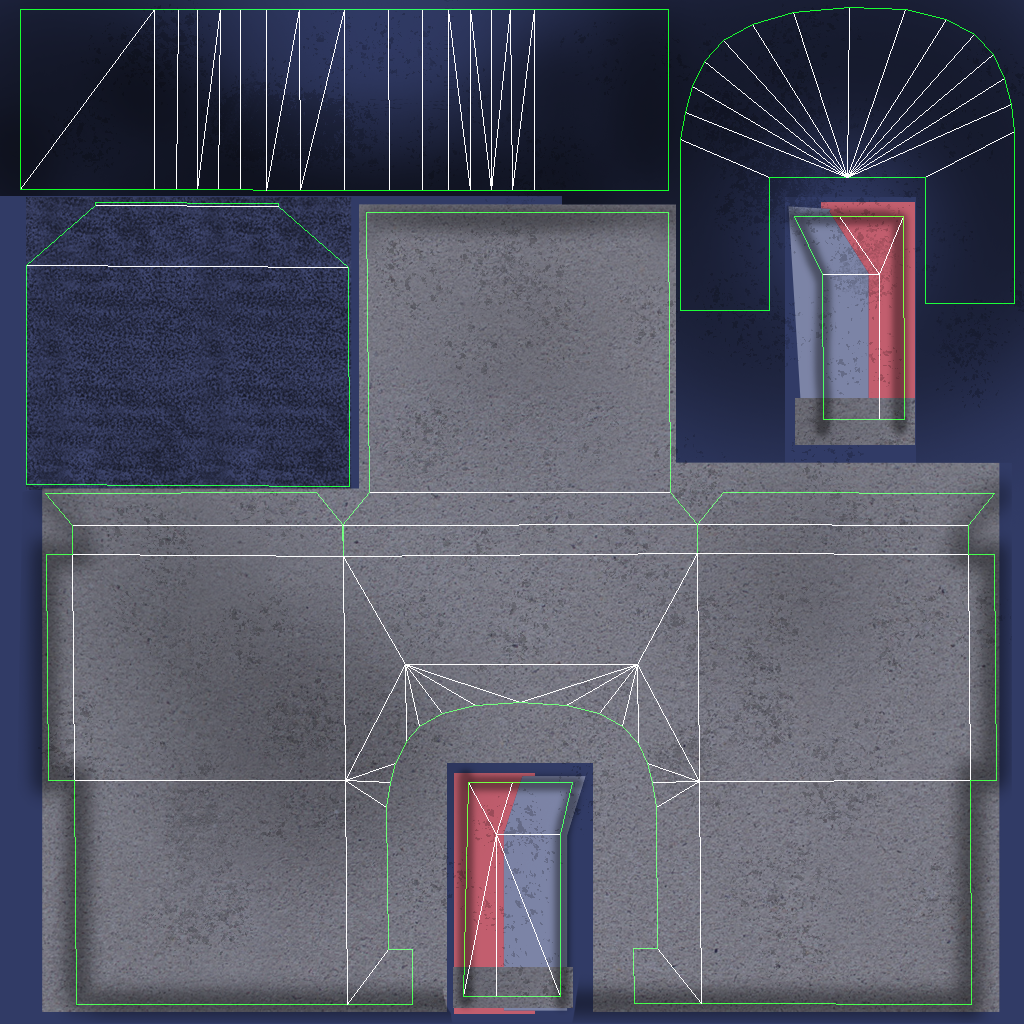
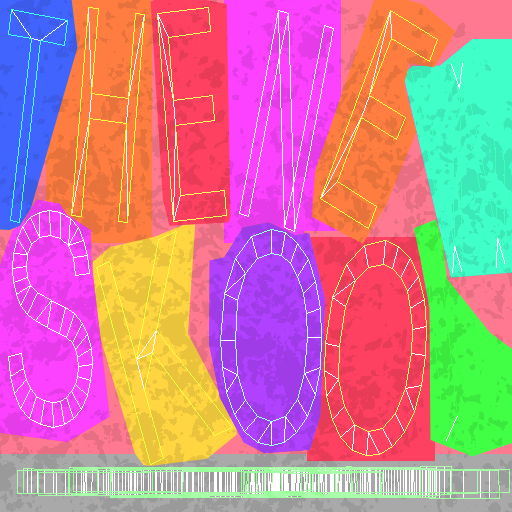
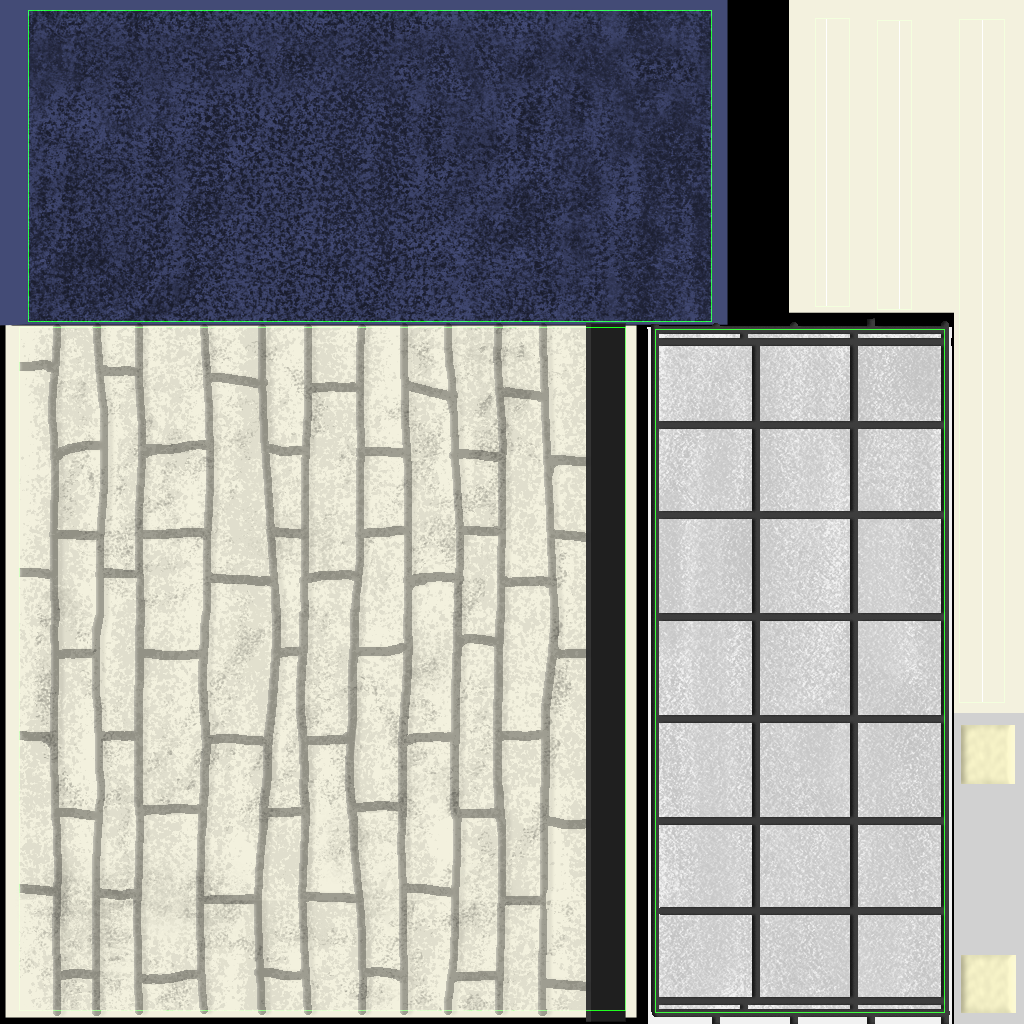
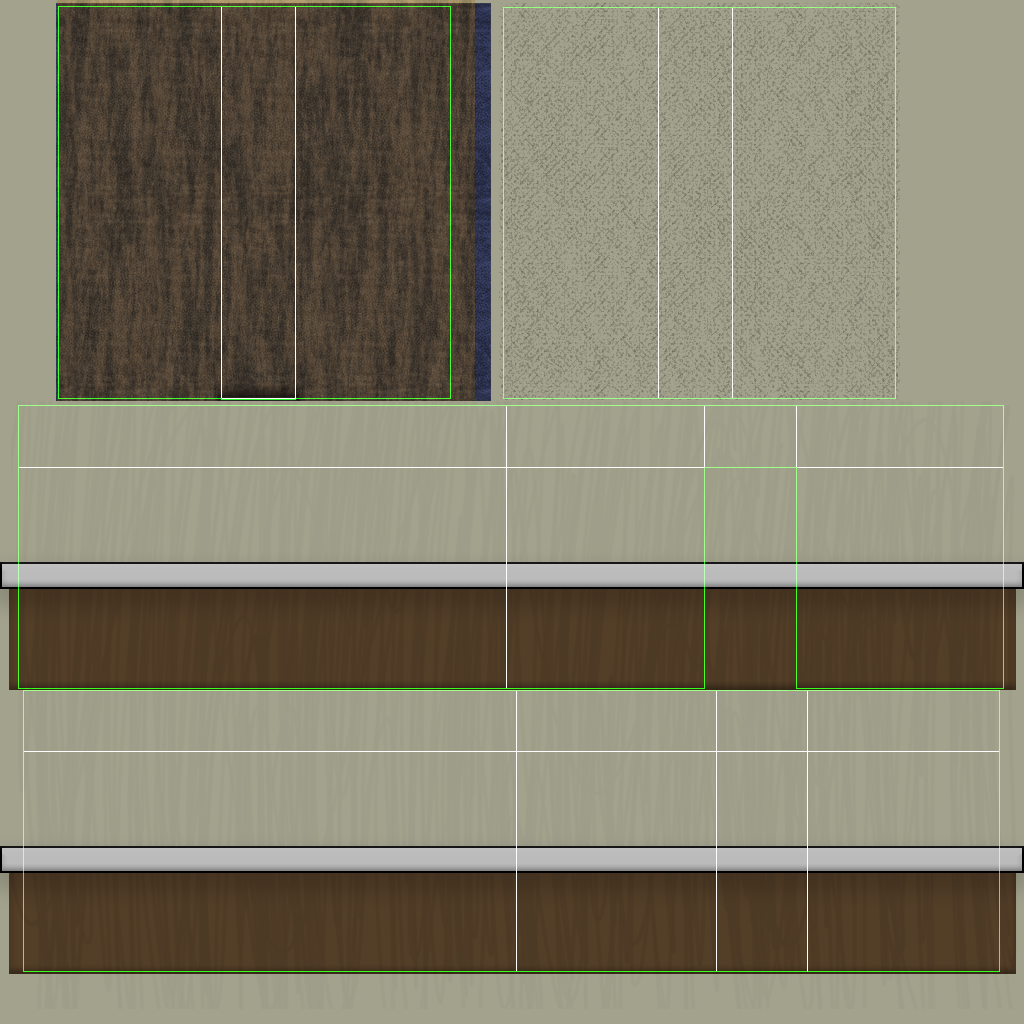
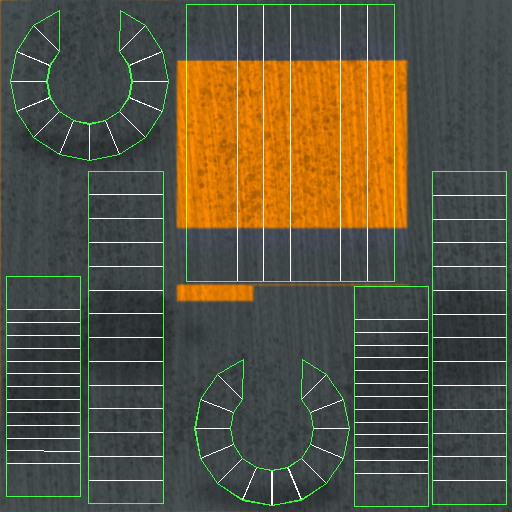
The centerpiece of the art showcase level in the large school in the middle of the playable area. It is entirely modular, made up of pieces of the walls that line the exterior, and of the hallways that snake around within the interior. Seamless repeating textures of bricks create the illusion of the building being one entire structure rather than separate, organized pieces that click together perfectly. The more unique aspects of the exterior walls, like the drain pipe to the right of the front entrance, the shed, as well as the exit and entrance were all made as separate pieces, then attached to the walls of the building, each with a unique texture. The interior of the school uses the same concepts, but the separate pieces are shaped like cubes rather than long, upward rectangles. Within these cubes, the models and textures are made to connect seamlessly, regardless of the corners or pathways open in each piece. When all the pieces were connected into the large structure, they make for a fun centerpiece that, through its in-repair state, gives the player a fun, world-building structure to explore.
The following images are within a slideshow format. Click or Tap on the arrows to the left/right of the images to progress.
The Character and Animations
The main, playable character for this level was designed to be animated and modeled with cartoonish-flair. First, Ryan designed the character and drew the model sheet, in Adobe Photoshop with an XP-Pen Tablet, that he used to reference the front, back, and sides of the character before working in 3ds Max.
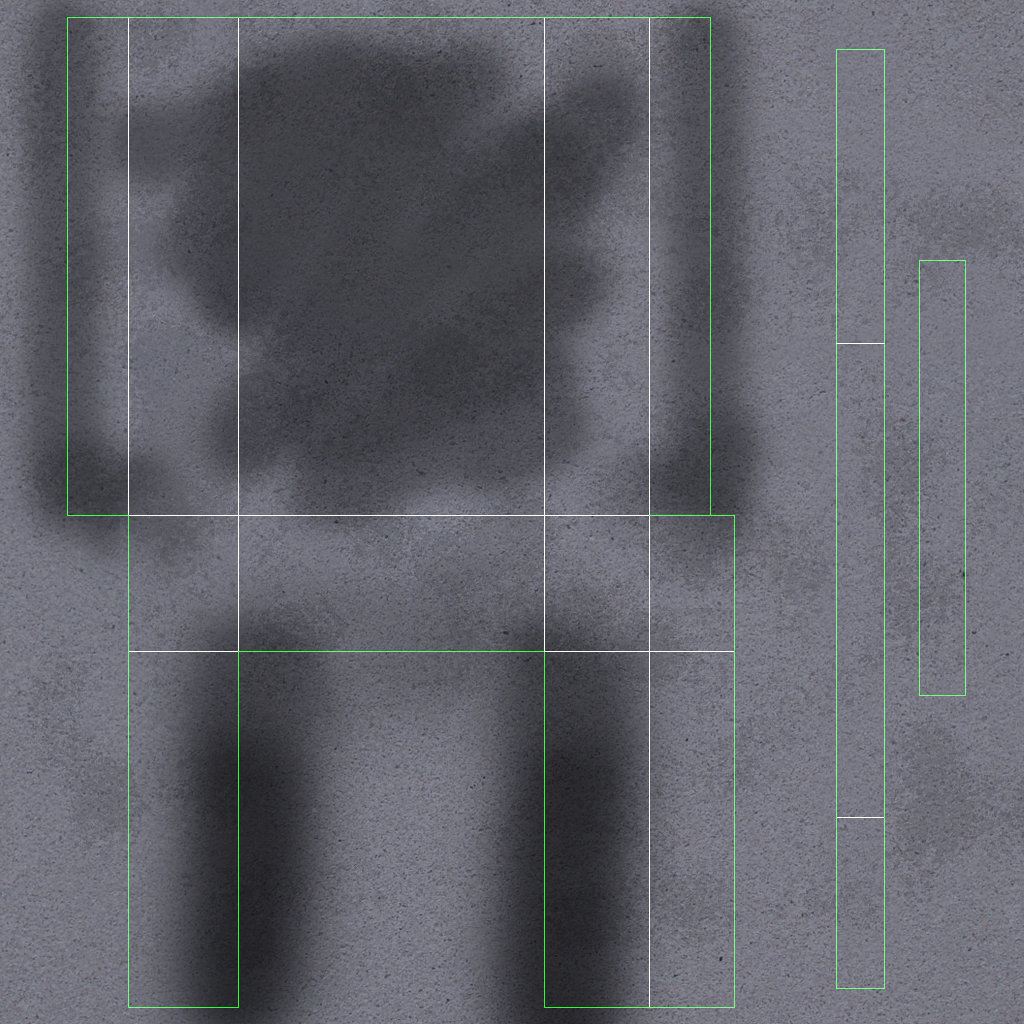
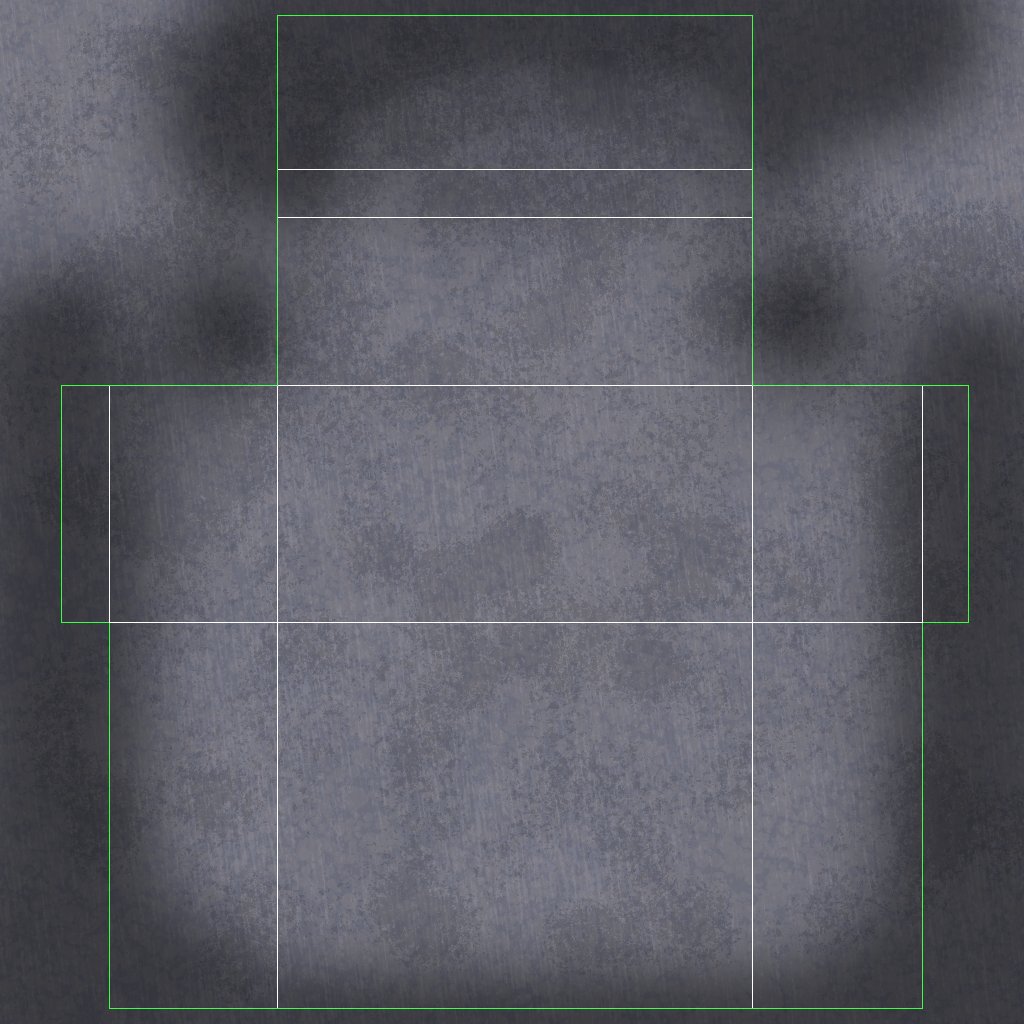
The realistic muscles of the body were relatively simple to model and animate, but the four-fingered hands, face, and hair were are tough, but fun, challenge Ryan faced. Animating a stubby hand with four, equally sized fingers in a way that the hand could grasp a weapon took a lot of planning ahead. Solving this, placing the tris in the right spots that allowed for the folding of the strange fingers was key to allowing the flexible movement Ryan wanted the character to have. The face was a challenge, as to not have the large eyeballs be off-putting or uncanny, which was solved by bending the elongated spherical shape so that it curved back with the shape of the face itself. The jagged, sharp jawline and chin were also touch to create as pronounced as Ryan wanted them to be, but the texture work with the black lines, also used to help define the muscles, helped create this touch shape even more. The last major challenge was the hair, to get it to protrude correctly and have equally-sized pointy spikes all along the back of the head and waft on the forehead. This was accomplished through many hours of delicate modeling, and extruding the rectangular shapes that covered the bulging hair created in this process, turning each of the rectangles into pointy pyramids.
As a final touch, several extra bones were added to allow the eyebrows to move, and to allow the hair tuft to bob up and down with the motions of the character. The animations of the hands stretching, hair tuft bobbing, and eyebrows twitching add additional personality to the visual of the character.
“Main Character Model Sheet” Digital
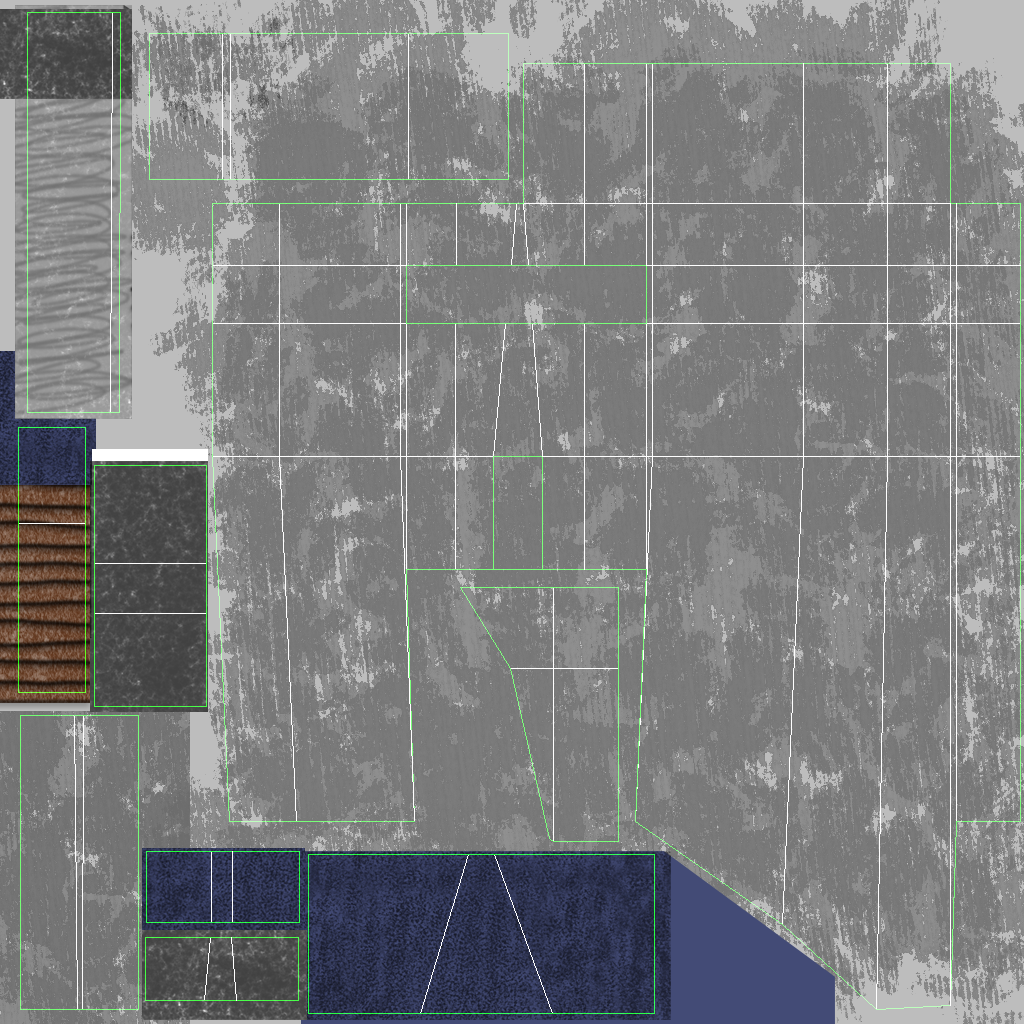
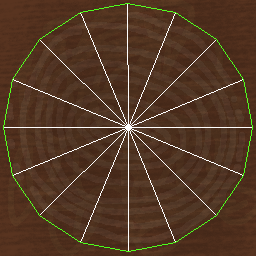
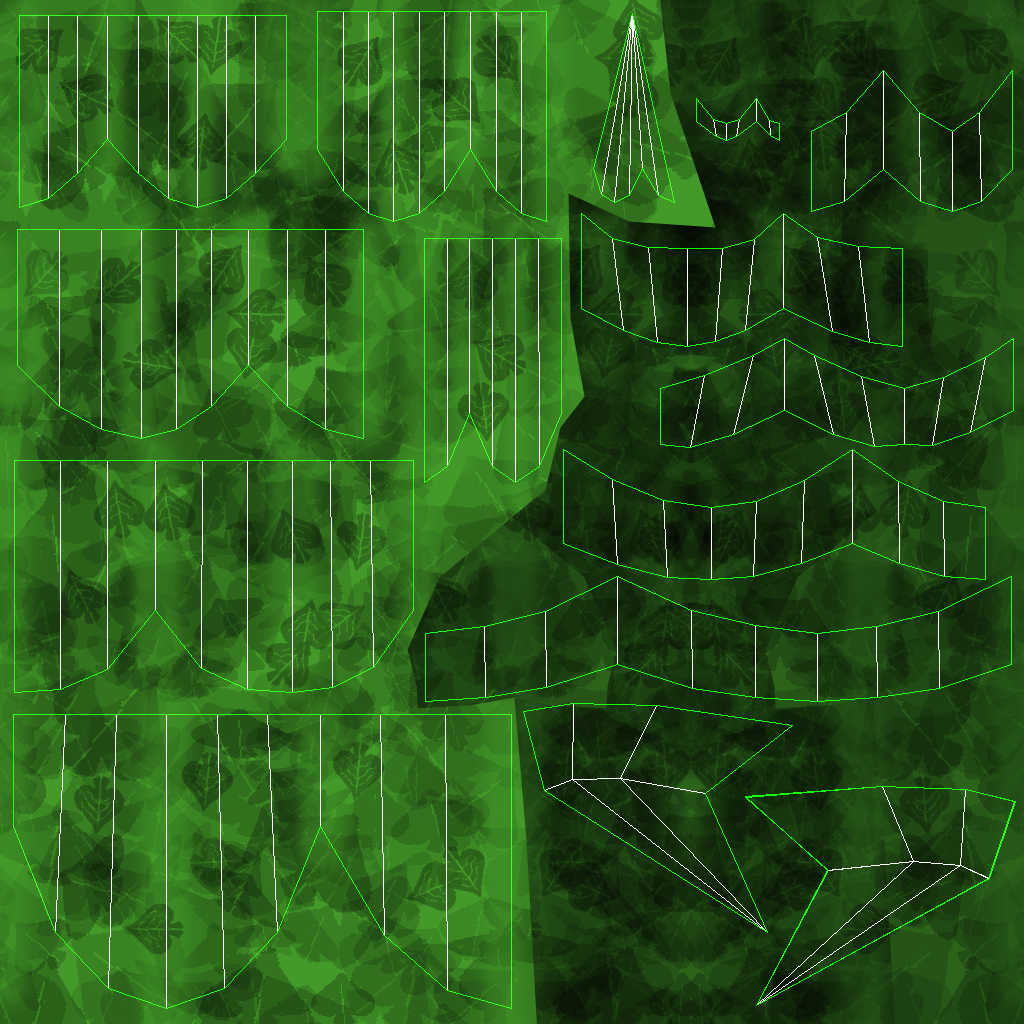
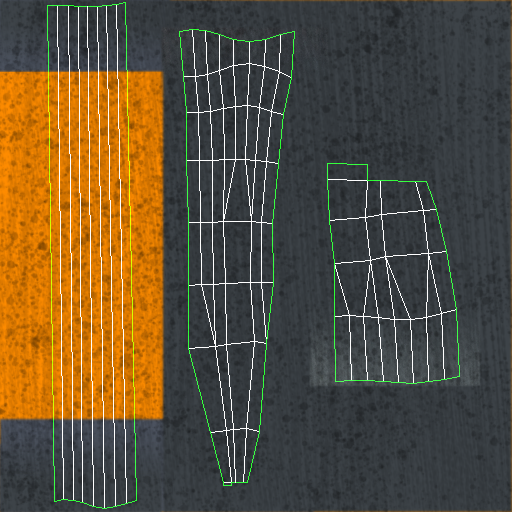
“Character Texture and UV Map”
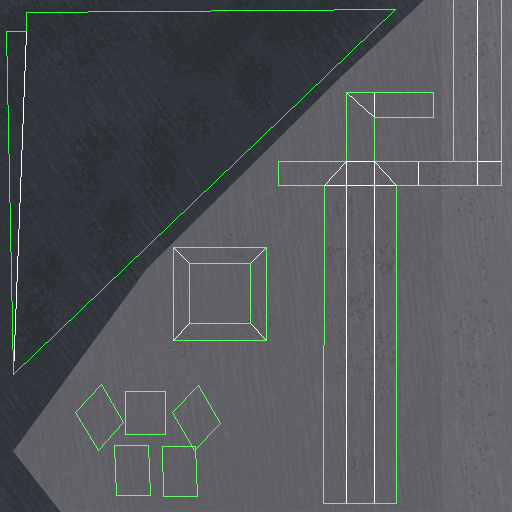
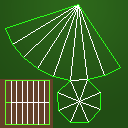
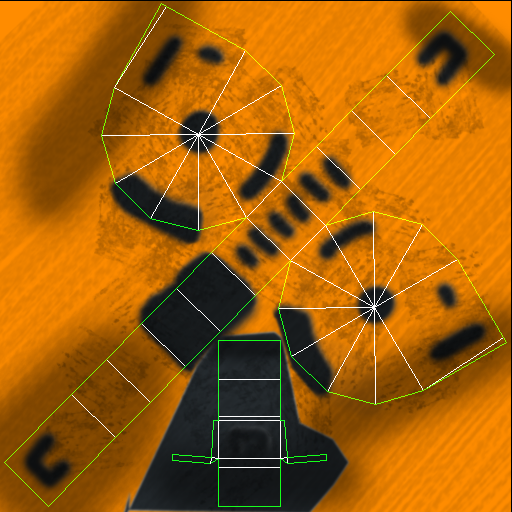
“Lacrosse Weapon Texture and UV Map”
The Props
The level Ryan designed is littered with objects, some natural, and some man-made. Ryan first designed the toxic waste barrels and practice target dummies to give the player objects to interact with, as well as making seven different construction tools to be hidden around the map for the player to collect. All of these interactable objects used striking, unique-to-the-level color schemes that allowed them to stand out as special to the player. To suggest that the main character entered the playable area without hopping the fence, a broken lever was also made, to indicate why the player cannot exit the area through the front gate, adding to the world building.
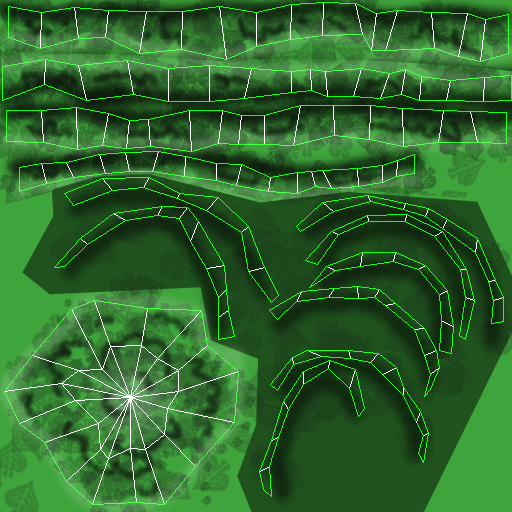
Decorations that cover the natural landscape surrounding the the school yard include varieties of trees, tree stumps, and bushes, which are all able to come in various sizes and shades of green, to add additional variation. The mountains that surround the school were made with Unity’s terrain editor, sculpting the landscape onto which these props were placed. As to not waste computer power rendering many trees in the far distance from the player, tiny low-poly trees with basic textures define the distant mountains. The size of the natural props decreases quickly in the distance, giving the illusion of the mountains being much farther away than they actually are, relative to the player.
The following images are within a slideshow format. Click or Tap on the arrows to the left/right of the images to progress.
The Special Textures and Systems
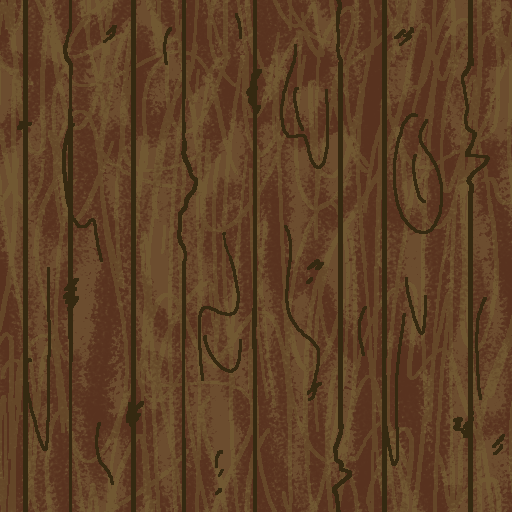
Ground Textures: Four seamless repeating textures were made by Ryan to be used in Unity’s terrain system. They are used to define what the player and props are standing on, for grass, rocks, mud, or mountaintop. Painting these textures onto the ground with Unity’s terrain system allows for each of them to blend together naturally, creating realistic transitions between surfaces.
Crack Textures: A few crack textures were made, which were placed onto transparent planes in Unity, then put on top of objects in the environment to give certain repetitive structures and textures more variety that adds to the under-repair aesthetic of the level.
Grass Textures: Three tufts of grass were designed by Ryan, and used in Unity’s terrain system’s paint details tool. Using this, the blades of grass were put into the level, lining the grassy areas around the school building. The Unity terrain system assisted in making the tufts look realistic, as it allows the grass to blow in the wind, adding to the feeling of nature brought on from the lonely, mountain-surrounded environment.
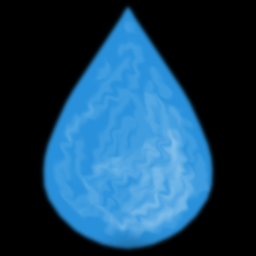
VFX Textures: Ryan designed some images to be used in Unity’s particle system. The first particle is a green puff cloud, made to act as the smoke rising from the toxic barrels behind the school. Second, Ryan made a water droplet, which falls occasionally from the bottom of the drain pipe found to the right of the front entrance. The third particle is a lightning bolt, which shoots off from the broken lever’s wires which are located next to the front gate on the walls surrounding the playable area. The last particle is a stand of hair, which shoots off of the main character’s hair tuft, which increases in frequency as the character moves faster, as if shaking the hair loose in the wind.
Skybox Texture: The sky surrounding the entire level was made by Ryan as a texture of a sunset. The Unity lighting system was then used to make the skylight, that illuminates most of the level, be sourced from this art, creating a natural, dark blue light that defines the late-afternoon atmosphere within the level.
The following images are within a slideshow format. Click or Tap on the arrows to the left/right of the images to progress.
Animations
“Exit”
Made during Ryan’s Spring 2022 (8th) semester at GMU. Created for the “Final Animation” assignment in Professor Rhoades’ AVT 383 3D Experimental Animation course. All art is created and edited by Ryan Bone, except for the sound effects and music which are credited at the end of the video.
“Exit” [Audio content is not directly made by Ryan and is shown in the end credits]
Background
Exit is a short film made by Ryan Bone, where a thief chases after a glowing orb, but the thief painfully fails his mission. Made in Autodesk Maya with the Arnold Renderer (with textures made in Adobe Photoshop and the video edited in Adobe Premiere), Ryan wanted to make a video that focuses on several moving light sources in a dark area. The bright orb causes the thief to glow a sharp blue color, while the lights in the background pass by quickly, giving the audience occasional bright glimpses of the thief’s silhouette. The motion displayed in those flashes of light need to be striking, so Ryan animated the thief to have large, exaggerated motions throughout every bone in his body. Distinct silhouettes, lighting, motion, and colors make for a video that is striking to watch.
Animation Intent
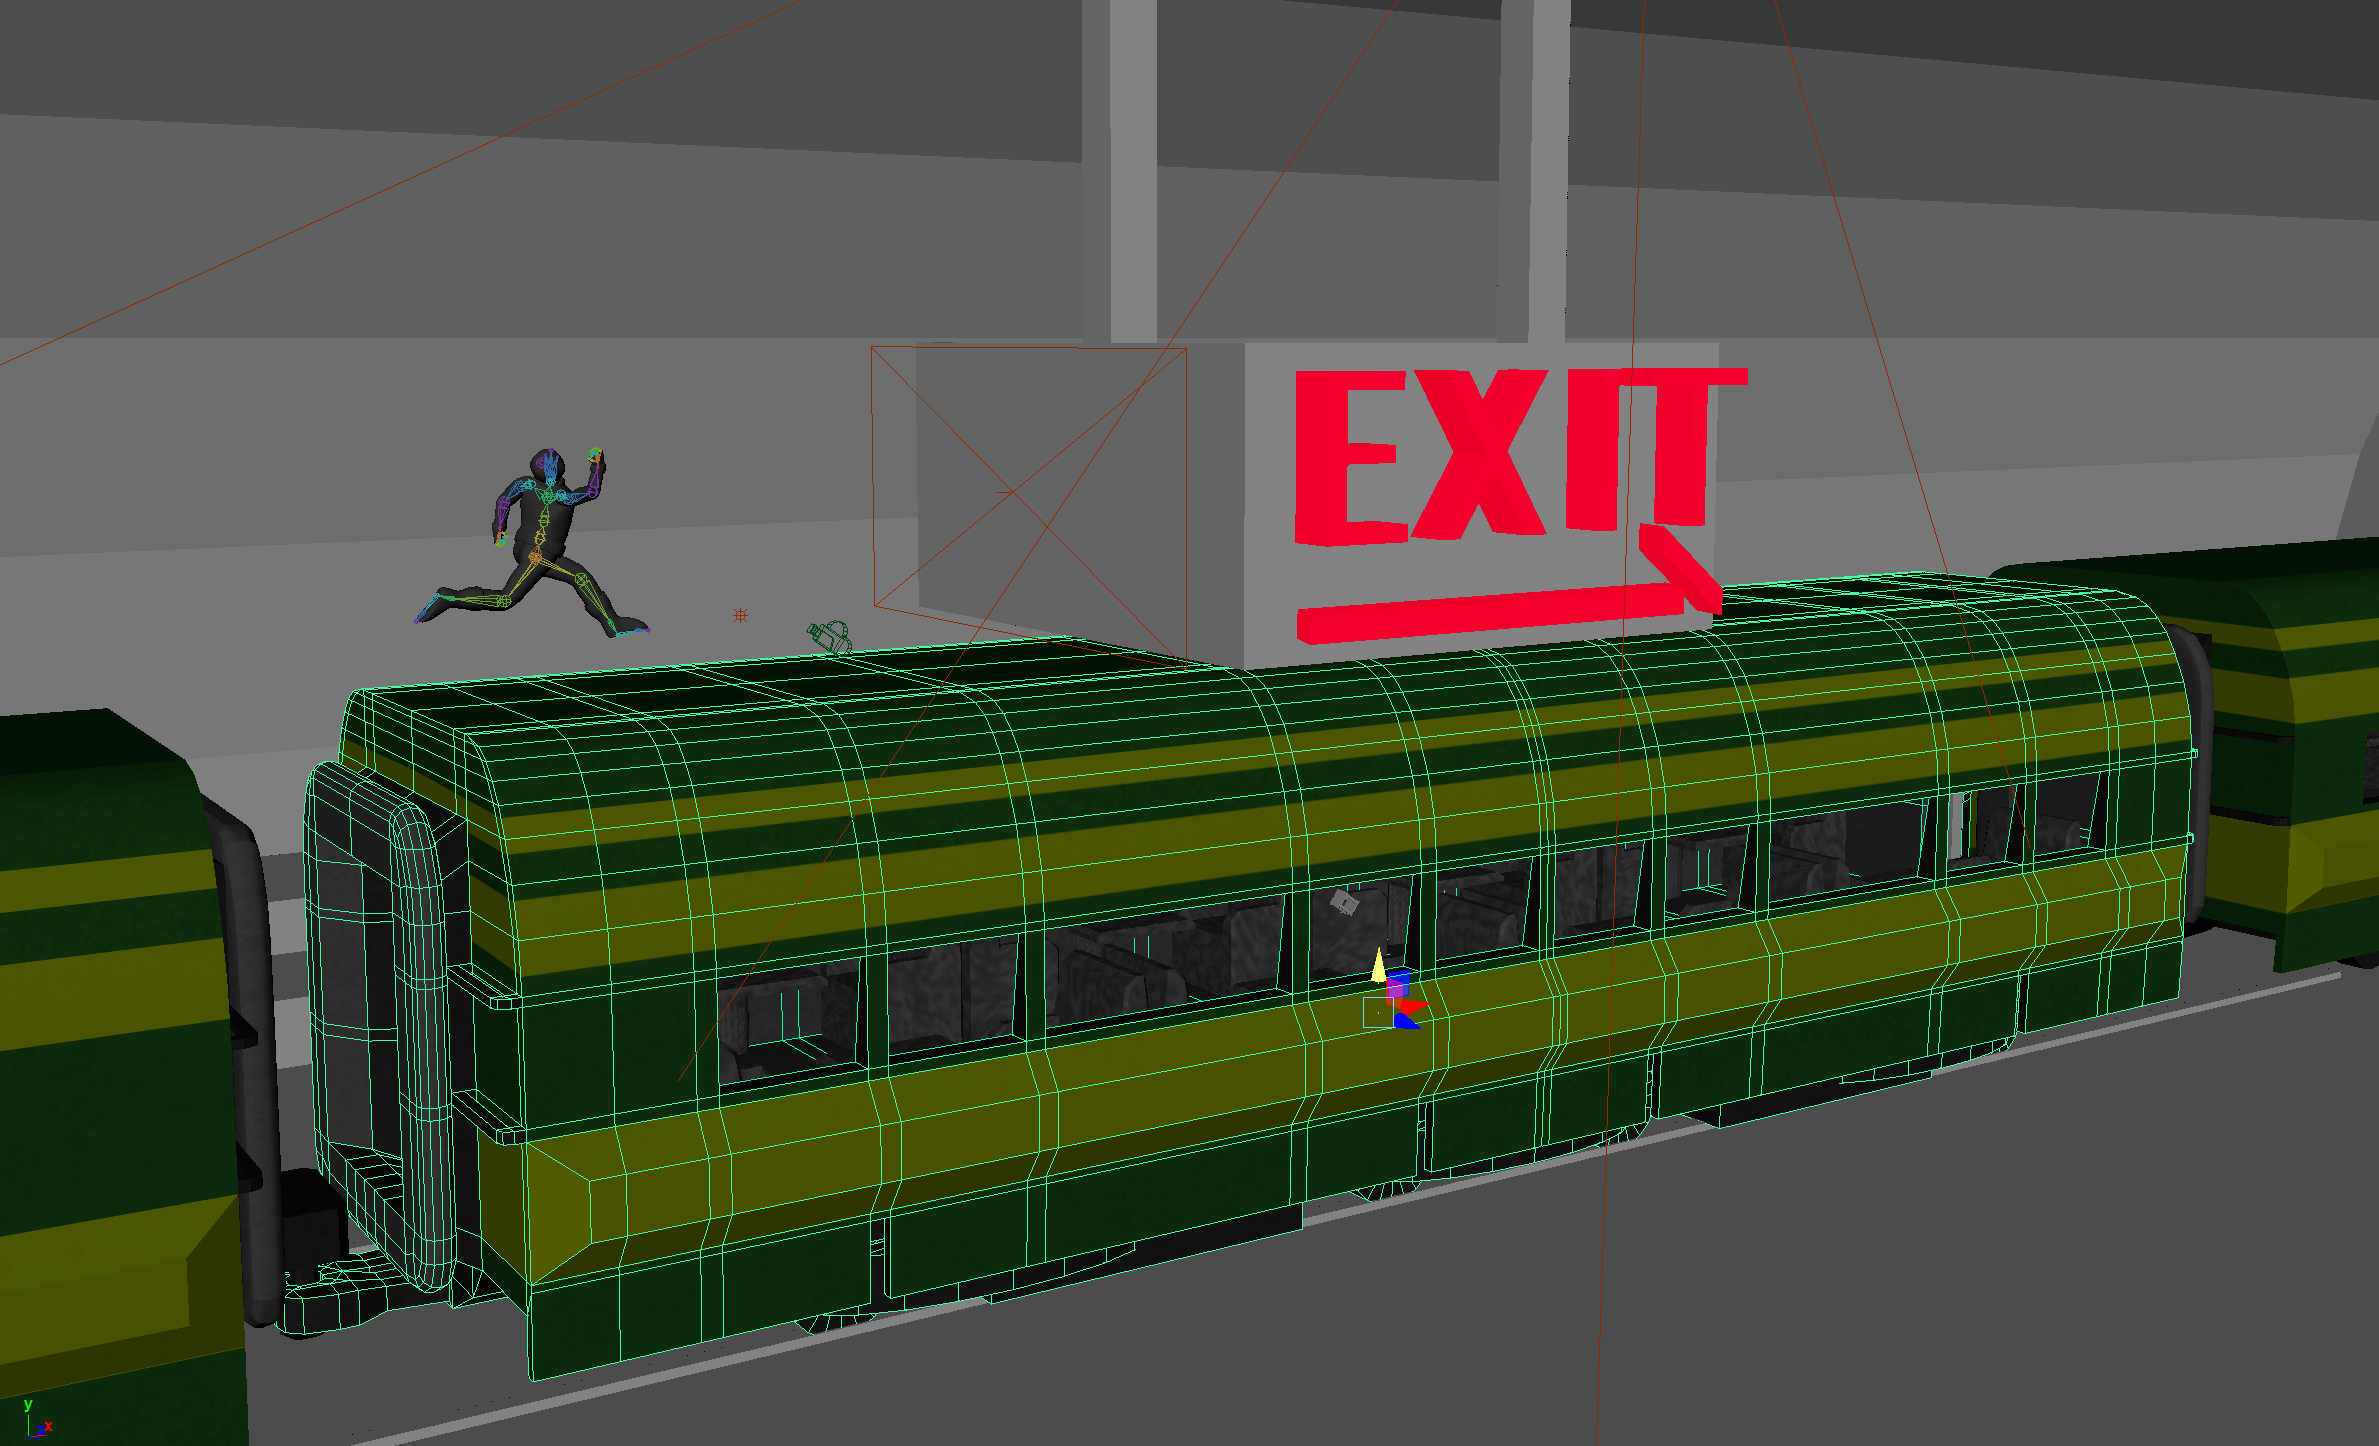
When Ryan decided to make an animation that used visually striking silhouettes, and bright lights in a dark area, he decided the best way to show this off would be to have a chase on top of a train. With this premise, the large, clunky shape of a train would frame the scene well and give a sense of speed, and trains are often in tunnels, which have sparingly distanced light sources, perfect for occasionally highlighting the edges of a character’s body. The premise now decided to be a chase, Ryan decided to have the main character be a thief running after a glowing orb. With the idea of a thief, the body could be simplified into wearing thick clothes that cover most of the body, allowing for most of the emotion to be displayed through the eyes or the body poses themselves, which were already the focus of this animation. Having a glowing orb be what is chased allows for the light on the front of the thief to grow brighter as he gets closer to his objective, creating light on his body where before there was none. With all this planned, Ryan decided to have the video end in a humorous way, allowing for the intense motion of the lights, train, thief, and orb come to an immediate, screeching halt. An exit sign, with its bright red colors, would perfectly contrast the blue of the orb. In contrast, as the blue orb got closer, thereby having the thief be closer to his goal, the blue light represented figurative closeness to victory, when the red light of the exit sign slowly approached the thief, eventually literally representing his closeness to failure.
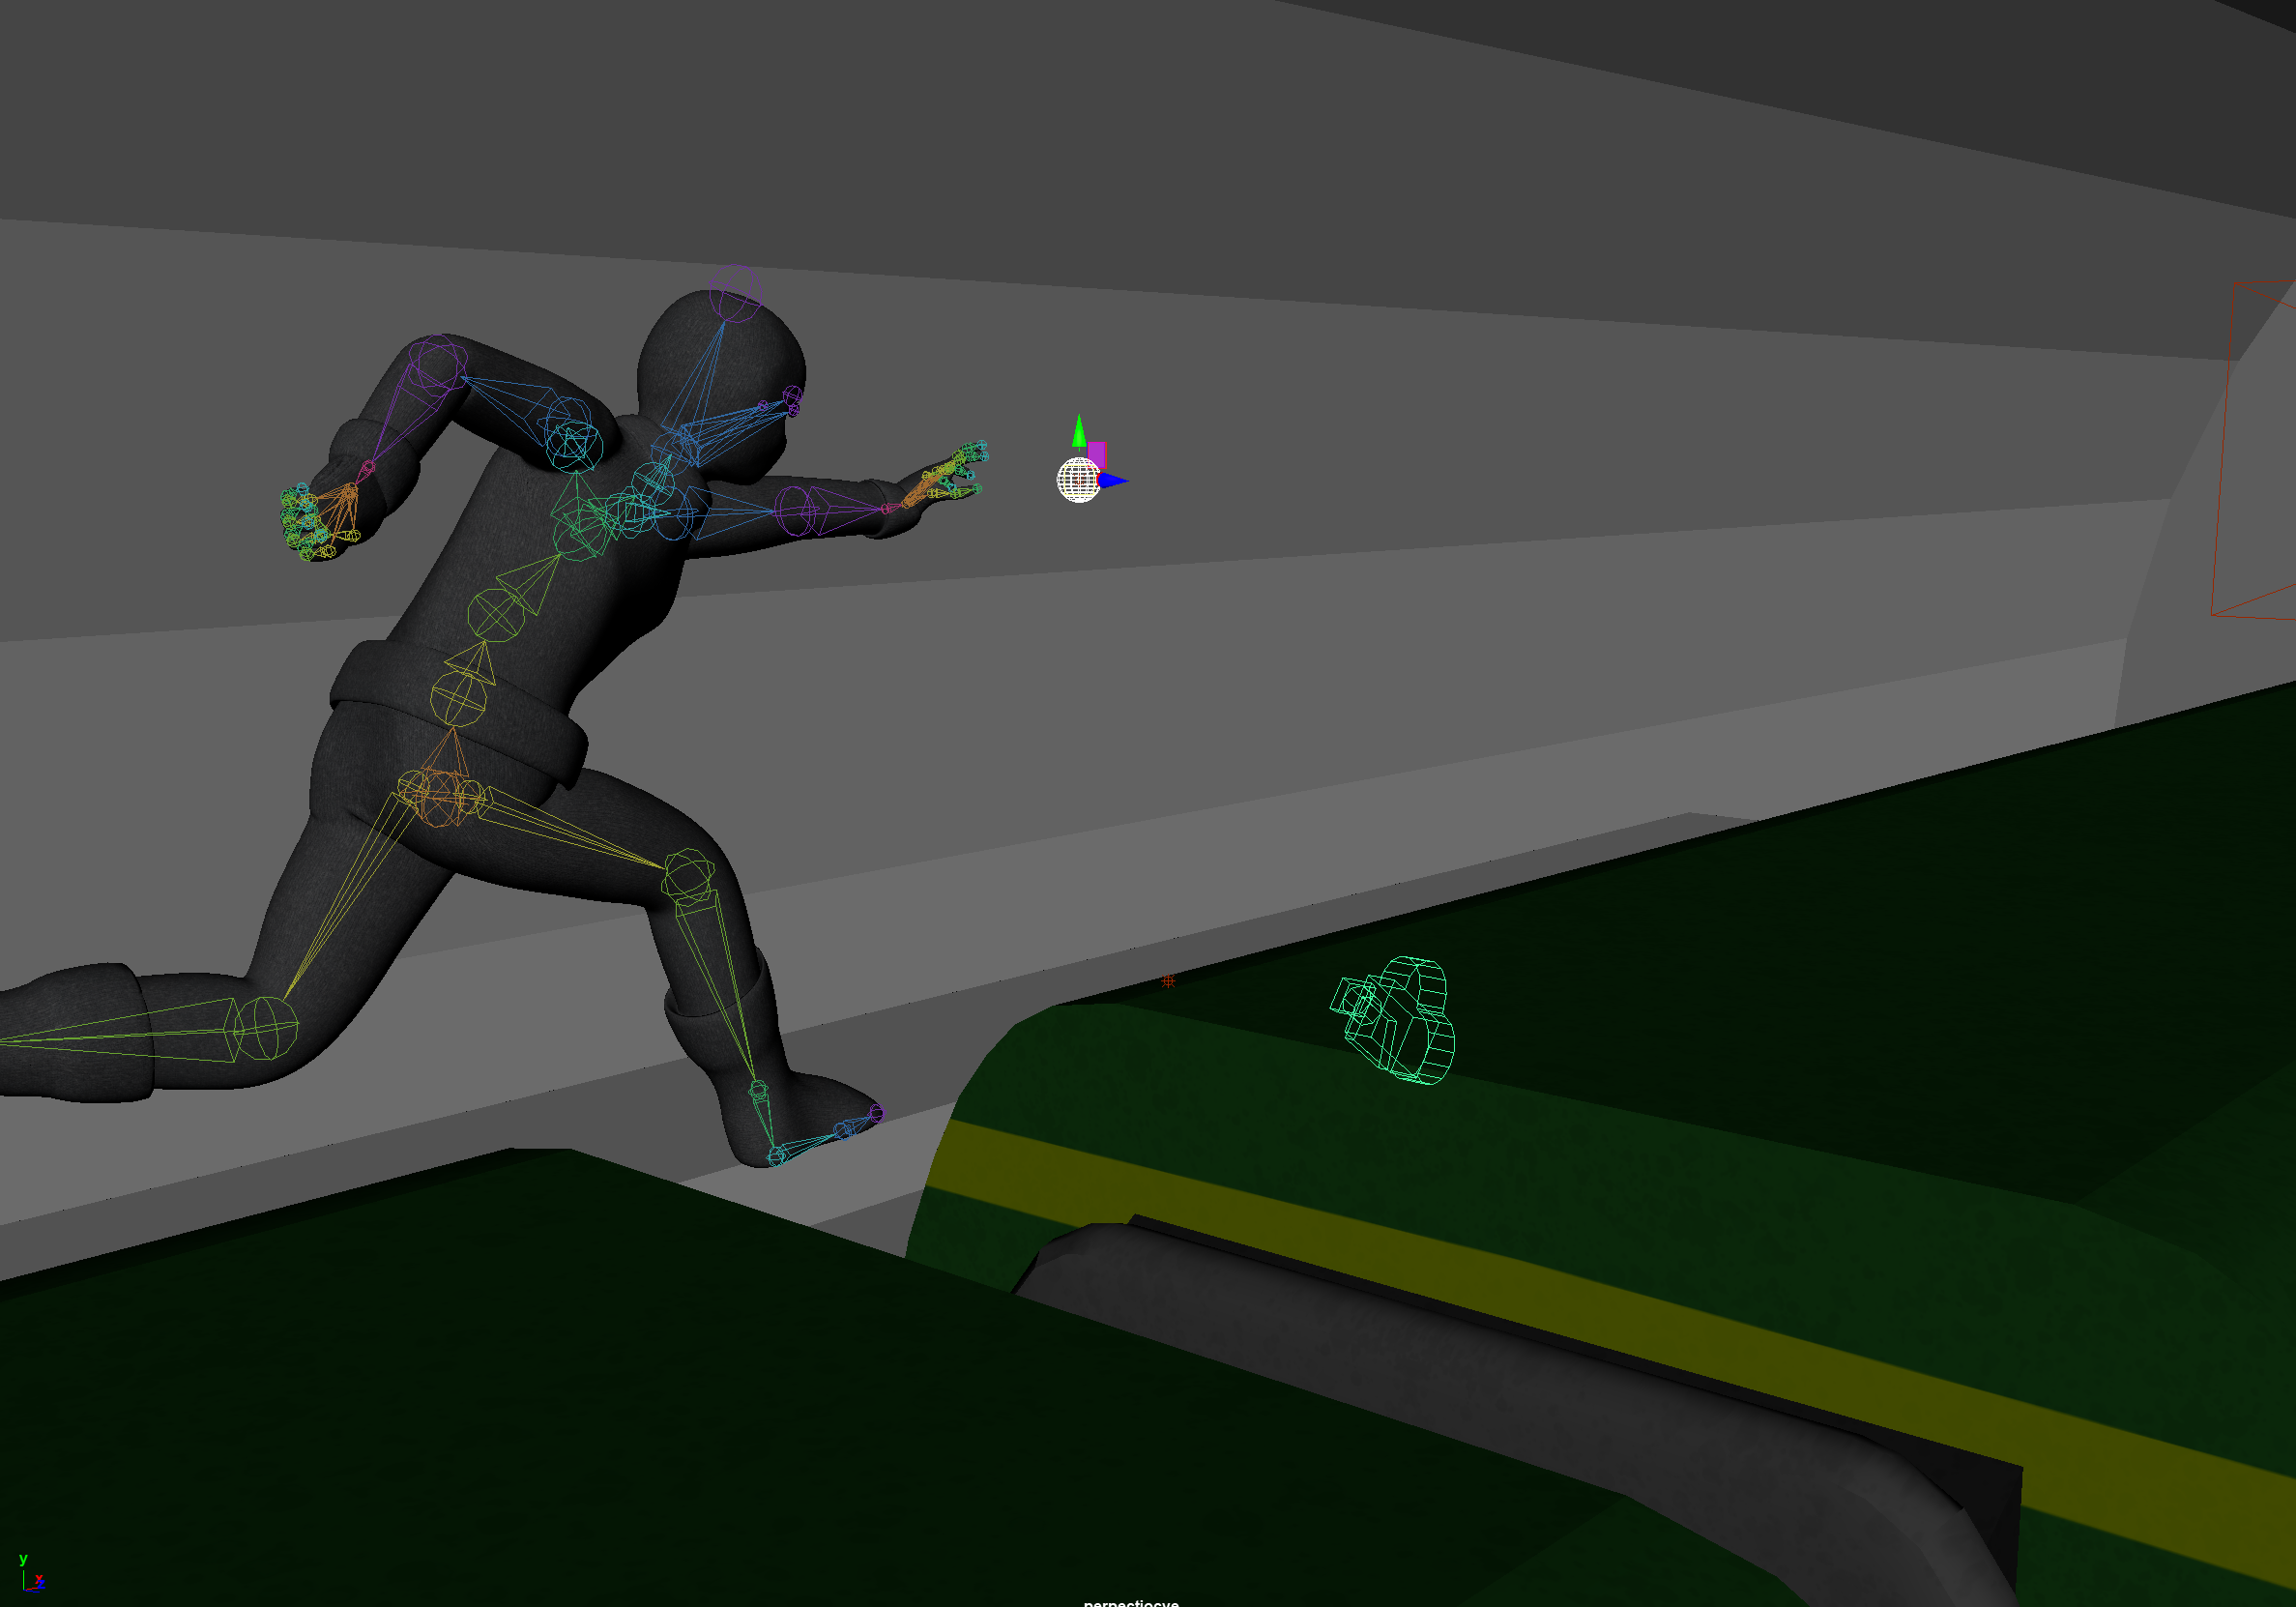
“Exit Train Low Camera Angle” Drafting
“Exit Train Model Before Crash” Drafting
Animation Process
Ryan started making the animation by first modeling the thief, UVing and texturing, then rigging and skinning the model carefully, as to allow for the most extreme body movements possible. Then Ryan modeled, UVed, and textured the train cars, which were mostly symmetrical, making the process much easier. The modeling, as with the animation process itself, was done in Autodesk Maya, with textures made in Adobe Photoshop. After this, lights were placed, while the background objects were made, but kept simple, and in gray, so that all the backgrounds defined was the lights that shined on them. With this all complete, Ryan moved on to key framing each of these aspects.
The largest challenged faced was to trick the audience into believing that the train was moving much faster than it actually was. The thief was framed in the center of the cameras, only barely moving left and right with the motion of his kicks and leaps off of the train cars. To keep the thief centered, the camera would stay exactly in place and each of the other objects besides the thief would need their movement to be simulated in reference to the thief’s consistent position. Ryan did some math and watched some media that had train top chases for reference to get the speed and direction in which each object should move. The train below the thief’s feet moves left at a consistent pace, following reverse of the thief’s movement, while the tunnel lights fly quickly by the train to the left, as the indicator of the rightward speed that the train in supposedly going in. Animating like this was confusing, so Ryan kept notes regarding the velocity of each object so that it would remain consistent and logical.
With the movement of the objects done, the thief was then animated in his running cycle. Rather than focusing on logical 3-dimensional movement, Ryan decided to focus on 2-dimensional movement, since the camera always faced the thief from a consistent, unmoving angle, and occasional lights appear to show the silhouette, what mattered most was the exaggerated framing of the body. After many tests, feedback from peers, and lengthy Autodesk Arnold Renderer renders, the animation was complete, and the final video with audio was compiled in Adobe Premiere.
“The Goo Cleaner’s Slimy Demise”
Made during Ryan’s Spring 2022 (8th) semester at GMU. Created for the “Midterm Animation” assignment in Professor Rhoades’ AVT 383 3D Experimental Animation course. All art is created and edited by Ryan Bone, except for the sound effects and certain 2D textures which are credited in the description of the YouTube video.
“The Goo Cleaner’s Slimy Demise” [Video edited and animated by Ryan Bone. All outside sources are listed in the YouTube video description]
Ryan made The Goo Cleaner’s Slimy Demise in Autodesk Maya. Since he was tasked with making a short video, Ryan decided it would be fun to make an animation where the focus is on the shifting size of objects. Doing this, Ryan had a slime of shifting size absorb and shrink down a table. The camera follows the shrinking of the objects, being sucked into the slime as well, adding to the effect. Eventually, the slime seemingly gets its comeuppance when it is shrunk and absorbed by a cleaner, though his cleaning device expands and explodes, ending the video. The camera is frequently in motion, following the action as close as possible, being sucked into the chaos and danger of the inconsistently sized objects in the room, keeping the audience on edge, following along with the changes.
“Wildest West”
Made during Ryan’s Spring 2022 (8th) semester at GMU. Created for the “Final Motion Capture Animation” assignment in Professor Willis’ AVT 399 Motion Capture for Game Design course. Part of a group project, but writing the script, drawing the storyboard, acting for the thief and the bank teller, voice over for the patron, and video and sound editing were done by Ryan Bone.
“Wildest West” [Video edited and partly acted by Ryan Bone. All outside sources are shown in the end credits]
Background
Ryan, in a team of four, was tasked with making a short film using motion capture suits and software. The team consisted of Brendan McDermott, who edited one scene’s data, then found, organized, and compiled 3D assets from online storefronts, Brennan Richardson, who edited three scenes’ data and transcribed the script, Trevor Simonson, who brought the animations and sounds into Unreal Engine, where he worked with the lighting and camera, and Ryan Bone, who drew the storyboards, edited three scenes’ data and edited the footage and sounds together in Adobe Premiere. The motion capture data was captured at George Mason University’s Black Box venue with Professor Willis’ equipment. The data was recorded into Autodesk MotionBuilder, where Ryan and the team cleaned and edited the data. Together, the group came up with the plot of Wildest West, with the intent to have as much fun motion capturing the characters as possible, while telling a funny story.
“Wildest West Motion Capture Suit Bank Teller Clip”
Acting
With a script, scene list, asset list, and storyboard made for Wildest West, the team were able to be the first group to put on the motion capture suits and record. Ryan and Trevor Simonson were the actors in the suits, while Brennan Richardson recorded the live footage from a phone for reference, while reading the script aloud, and Brendan McDermott recorded and organized the motion capture data within Autodesk MotionBuilder. Ryan and Trevor which switch between what characters were needed in each scene, with Trevor consistently playing the sheriff, the horse, and the patron woman. Ryan played the bank teller and the robber. Each scene required multiple takes, since motion capture can be finnicky, but in the end the team had captured some good data to work with.
Editing
With the motion capture data recorded, the data needed to be cleaned of any issues or bugs. The team split up the work and it was all manageable to edit in MotionBuilder, until the final scene where Ryan, the thief, gets knocked to the ground by Trevor, the horse (1:30-1:41). Because the scene had Ryan laying on the ground, some of markers on his suit were covered by his body, not visible to any of the cameras recording the data from up high. This took Ryan many, many hours to repair the data for, but the effort was worth the struggle, as that scene worked perfectly as the punchline for the video!
With the data cleaned, the animated models were put into Unreal Engine, where Trevor Simonson put together the lighting and cameras, while the rest of the team provided feedback and ideas to frame scenes better. Once Trevor put sound effects into the animations, the team came together and each recorded the voice lines for a character. Trevor then sent Ryan the Unreal Engine footage, and Ryan used Adobe Premiere to put the video, sound effects, and voice lines all together. With some final tweaks made during this stage, Wildest West was complete.
“Wildest West Motion Capture Suit Bank Teller Clip” [Video also features Trevor Simonson, Ryan Bone is the one who falls]

